4. Making System Booting Media
4.1. Set booting media
4.1.1. Prepare Debian 7 file system
Debian File System
Prepare the Debian 7 root file system, armel-rootfs-20131003_v0.01.tar.tgz. We need to use the armel-rootfs-20131003_v0.01.tar.tgz to install Debian with full functions. It locates under EVK/Update_Package/bspinst/packages folder.
You can also download it from http://rcn-ee.net/deb/minfs/wheezy/
Patches
Moreover, there are some other patches in EVK/Update_Package/bspinst/packages which must be manually copied to SD card when booting from SD card. In this version, the patches in EVK/BSP/Others folder has been previously added to Debian file system.
If you use the Debian file system obtaining from the website, it certainly doesn’t contain the patches described below. Therefore, you still must manually copy the patches to your downloaded Debian file system.
4.1.2. Boot from eMMC
- Insert SD card to host PC.
- Find the inserted SD card. Create all the volume to FAT partition, and name it update.
- Copy the bspinst folder and scriptcmd file under Update_Package folder to update partition.
- Once the copy is finished, please un-mount Volume and remove the SDcard.
- Insert the SD card to VAB-600 and boot.
- After the installation is finished, please remove SD card. The system will shut down in 3 seconds.
- Power on VAB-600, and it will boot from on-board eMMC
The default login credentials are:
Username: debian
Password: temppwd
4.1.3. Boot from SD card
4.1.3.1. Update uboot parameters
Connect VAB-600 and host PC through COM port. Update uboot parameters as below:
setenv boot-method boot-emmc
setenv ethaddr 00:40:63:11:23:29 ( If there is no default value )
setenv memtotal 850M
setenv mbsize 62M
setenv wmt.display.dual 0
setenv wmt.display.param 4:6:1:1920:1080:60
setenv wmt.ge.param 1:-1:100:-1
setenv wmt.audio.i2s vt1603:f2:f2:f1:f1:100
setenv boot-emmc "mmcinit 0; fatload mmc 0:1 0x01000000 uzimage.bin; if iminfo 0x01000000; then run set-rfs-emmc; bootm 0x01000000; fi"
setenv set-rfs-emmc "setenv bootargs mem=${memtotal} root=/dev/mmcblk0p2 rw rootfstype=ext3 noinitrd mbtotal=${mbsize} ${bootargs-common} ${bootargs-extra}"
setenv wmt.plla.param 1:792:1:2:1:1:1
setenv wmt.plla2.param 1:792:1:2:1:1:1
saveenv
reset
Default display setting “setenv wmt.display.param 4:6:1:1920:1080:60” lights HDMI.
If you want to light LVDS panel, please refer to Light LVDS panel (TP070C01).
If you want to light TTL panel, please refer to Light TTL panel (LW700AT9901).
4.1.3.2. Format the SD card
Insert the SD card into host PC. Open the Disk Utility (System->Administrator->Disk Utility)
If the SD card is already formatted, we need to umount volume first. Then Delete the Partition to get a clear SD card. Click “Create Partition” to continue.
Click the SD card reader. Create a FAT partition with 200MB and name it kernel.
Create an EXT3 partition with remaining space (about 3.7GB) and name it fs. Then you will get a SD card with FAT and ext3 partition.
4.1.3.3. Install kernel and root filesystem to SD card
Copy the kernel Image uzImage.bin to kernel partition.
Use the following command to unzip the root file system to the ext3 partition on SD card:
tar -zxvf armel-rootfs-20131003_v0.01.tar.tgz -C /media/fs
Once the unzip procedure is complete. You can see the root file system is installed in the ext3 partition on SD card.
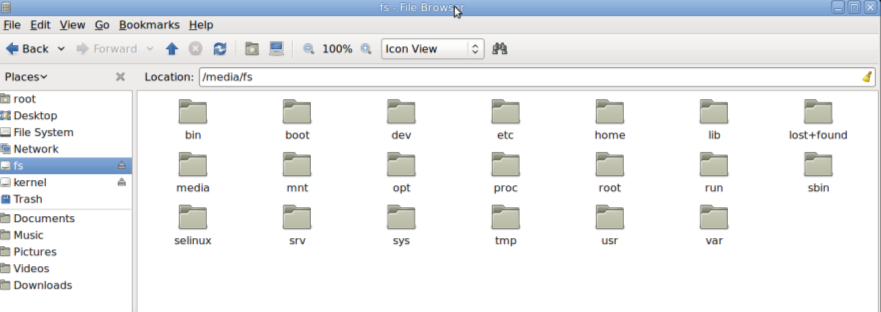
Figure 1: Root file system on the SD card
4.1.3.4. Download the fully Debian7 file system
Connect VAB-600 and host PC through COM port. On the host PC, you will see the kernel message and login prompt through serial console. The default username and password is debian/temppwd
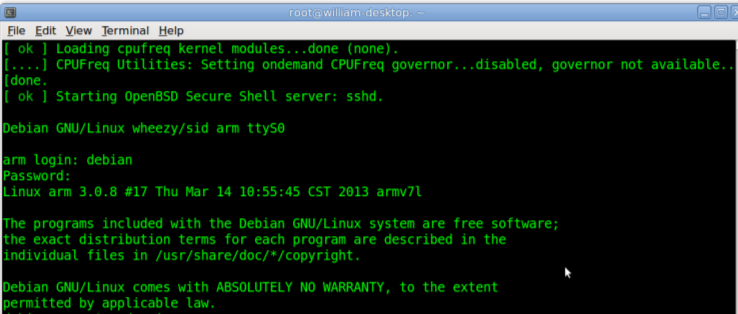
Figure 2: Login screen
Use the following command to get the root permission for the following steps:
sudo -i
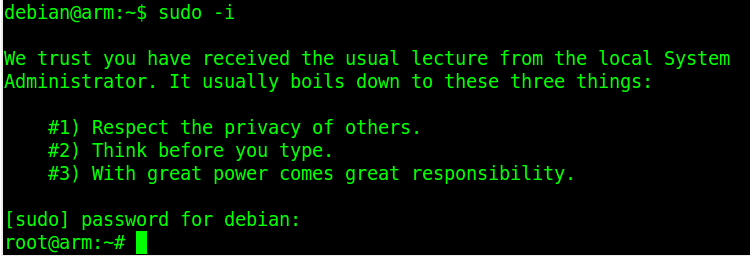
Figure 3: Running sudo
Get correct ethX by using the command, (X is variable, depending on your environment):
ifconfig -a
Then type the following command in the command prompt to get a DHCP IP:
/usr/lib/klibc/bin/ipconfig ethX
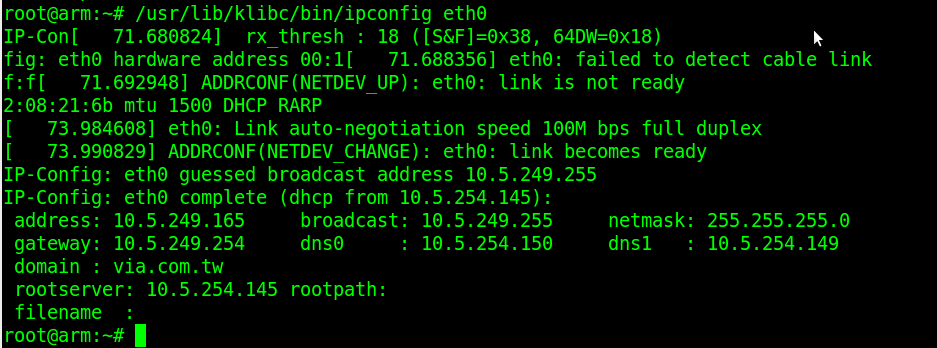
Figure 4: Start network
Please confirm that the DNS information in /etc/resolv.conf is correct. For example the DNS for VIA in /etc/resolv.conf is:
domain via.com.tw
search via.com.tw
nameserver 10.5.254.150
nameserver 10.5.254.149
Now we are ready to download the fully Debian7 file system.
Type the following command to update the source list:
apt-get update
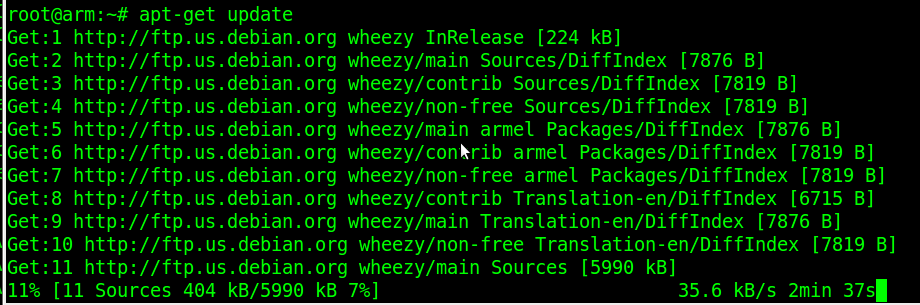
Figure 5: Running system update
Type the following command to install the xorg. Press “Y” to install the xorg:
apt-get install xorg
Type the following command to install the lxde. Press “Y” to install the lxde. Please choose the default setting during installation:
apt-get install lxde
Once you finish the above steps, please reboot the VAB-600 after the installation is complete. It is required to install the graphics driver in order to make the user interface work.
4.2. Install graphics and multimedia package
4.2.1. Prerequisites
Enable network Get correct ethX by using the command, (X is variable, depending on your environment):
ifconfig -a
Enable network:
dhclient ethX
4.2.2. Install graphics driver package
Graphics driver package contains Display(xorg), 2D(EXA), 3D(openGL ES), video decoder and Mali memory management drivers. Those drivers may be user space libraries or kernel space kernel modules.
Get graphics driver package VAB-600-Debian7.0-Graphicsv1.0.4.tgz from the folder EVK/BSP/Graphics_driver/.
Uncompress the graphics driver:
tar xzf VAB-600-Debian7.0-Graphics-v1.0.4.tgz
Install Graphics driver by script, and reboot the system:
cd VAB-600-Debian7.0-Graphics-v1.0.4
sudo sh install.sh
sudo reboot
Check installation result
Mali driver(mali_drv.so):
grep 'mali' /var/log/Xorg.0.log
On success, should see something similar to:
[ 42.820] (II) LoadModule: "mali"
[ 42.833] (II) Loading /usr/lib/xorg/modules/drivers/mali_drv.so
[ 42.913] (II) Module mali: vendor="X.Org Foundation"
[ 42.913] (II) MALI: driver for Mali Framebuffer: mali
[ 42.913] (WW) Falling back to old probe method for mali
[ 42.917] (EE) MALI(0): mali_drm_open_master DRM OPEN (fd:0x7)
[ 43.277] (II) MALI(0): maliSetupExa: ENTER
[ 43.280] (II) MALI(0): maliSetupExa: EXIT
EXA:
grep 'EXA' /var/log/Xorg.0.log
On success, should see something similar to:
[ 41.073] (II) MALI(0): Mali EXA driver will use GE!
[ 41.073] (II) MALI(0): Mali EXA driver is loaded successfully
[ 41.073] (WW) MALI(0): Initializing EXA Driver!
[ 41.073] (II) EXA(0): Driver allocated offscreen pixmaps
[ 41.077] (II) EXA(0): Driver registered support for the following operations:
On failure:
[ 41.073] (WW) MALI(0): Failed allocating EXA Driver!
If results show success, continue the following steps. Otherwise, solve the problem before taking further action.
4.2.3. Install Multimedia package
Multimedia package contains Gstreamer 0.10.35 environment and ffmpeg plugin.
Set locale. Make sure the network of your Debian system is connected. Then run:
apt-get update
apt-get install locales
dpkg-reconfigure locales
and choose en_US.UTF-8 UTF-8
- Get multimedia package VAB-600-Debian7.0-Multimedia-v1.0.1.tgz from the EVK/BSP/Multimedia::
tar –xvf VAB-600-Debian7.0-Multimedia-v1.0.1.tgz cd VAB-600-Debian7.0-Multimedia-v1.0.1 ./install_quick.sh
Check gst plugins version Run gst-inspect command to check version number of installed gst plugins. It should be 1.5.1.:
gst-inspect-0.10 ffdec_wmt_*
Note: Replace “*” by h264, mpeg2video or mpeg4:
gst-inspect-0.10 wmtimagesink
gst-inspect-0.10 playbin