3. Building through LTIB
Once the building environment has been configured as described in Chapter 2, the environment and host are now ready to run the LTIB. This chapter will guide through building the BSP via LTIB.
3.1. Getting iMX6x Based Board Packages
To get iMX6 based board packages through LTIB when you first use the LTIB. Those packages include iMX6 hardware definitions, drivers and many more:
user@ubuntu:~/imx6/ltib$ ./ltib –c
Depending on the performance of user’s computer, this process will take time to run. It may take several minutes to an hour. Once the LTIB environment is configured, a menu will be available for selecting configurations.
The first menu is shown in Figure 1. Use the arrow keys to move the cursor between <Select> and <Exit>.
Choose <Select> then press enter key to open the selected item.
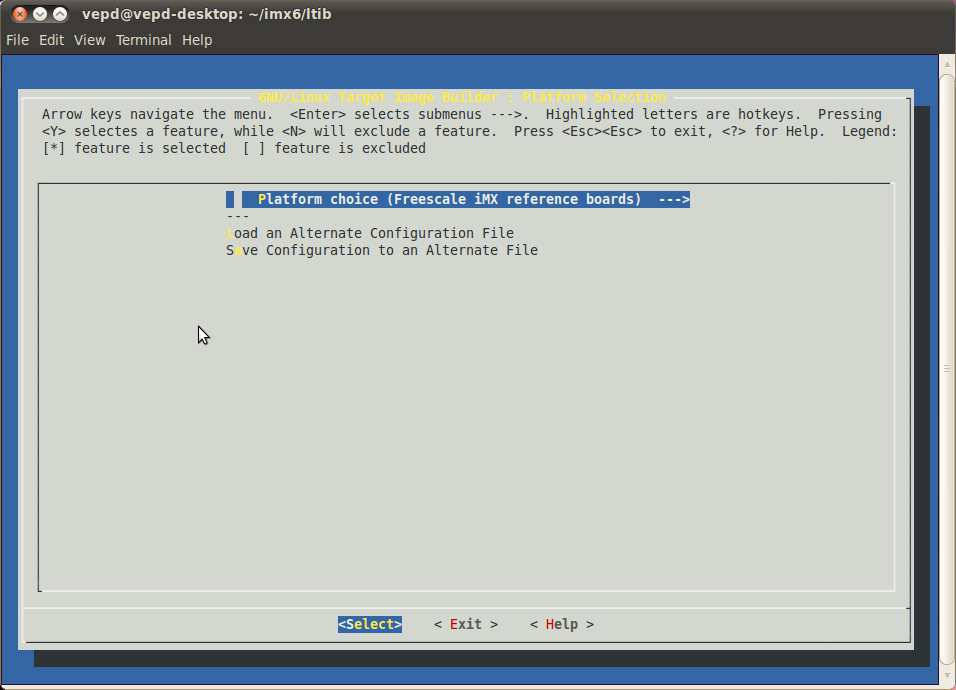
Figure 1: Target Image Builder Platform Selection
In Figure 2, it shows that <Yes> has been selected. Press enter key to save.
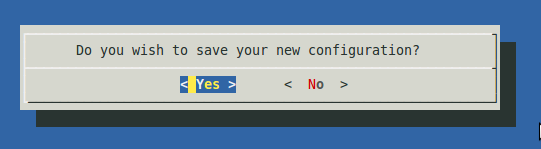
Figure 2: Save Platform Image Selection
The next menu is shown in Figure 3 and provides the target platform to be selected. Using the cursor arrow down key, move the cursor over the Selection (imx25_3stack) and press enter. The submenu of the selected platform is shown in Figure 4.
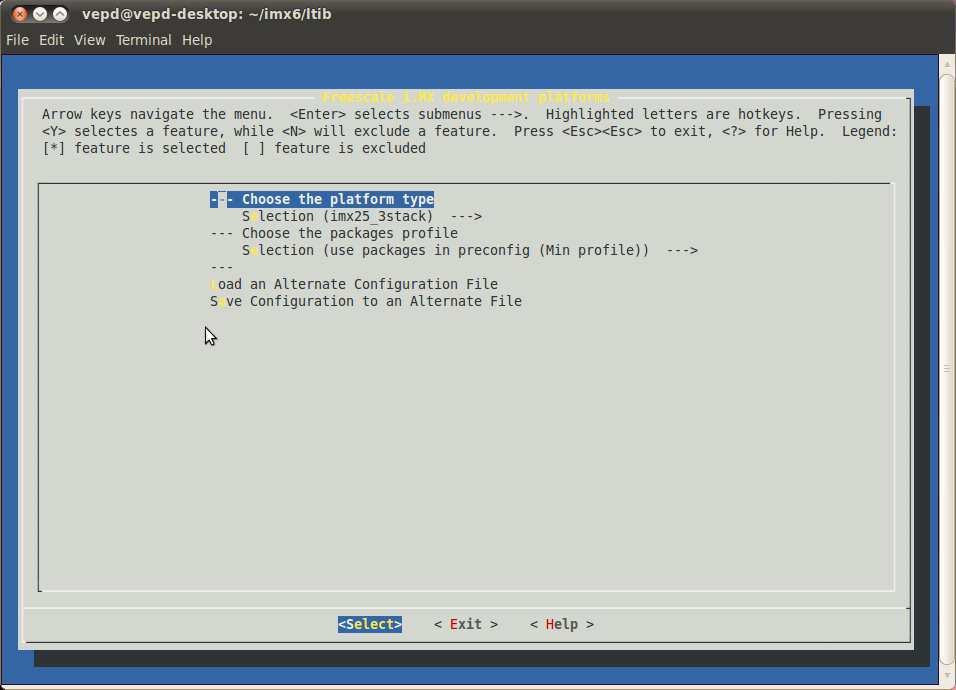
Figure 3: i.MX Development Platforms
In submenu selection, select the imx6q platform by moving the cursor over the imx6q as shown in Figure 4, then press enter key.
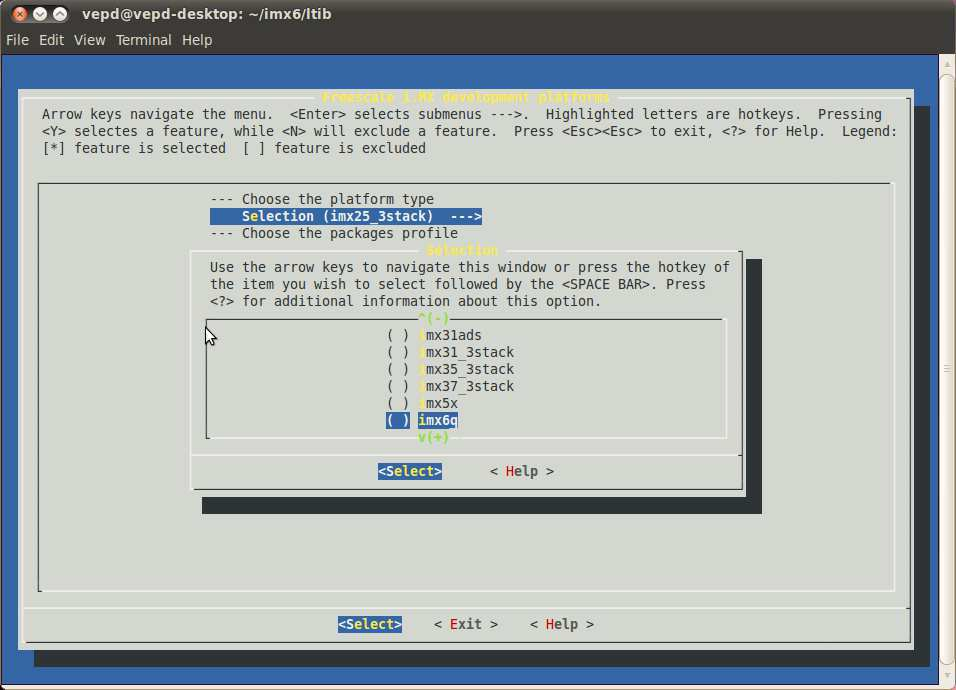
Figure 4: imx6q Platform Selection
Move the cursor to <Exit> then press enter key. The save screen is presented as shown in Figure 5. Select <Yes> and press enter key to go to the option.
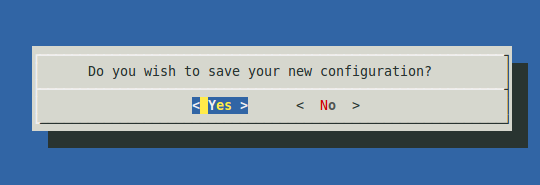
Figure 5: Platform Save
The imx6q Based Boards menu is now presented as shown in Figure 6. The u- Boot board selection must be changed to mx6q_sabrelite. Move the cursor over board (mx6q_arm2) and press enter key.
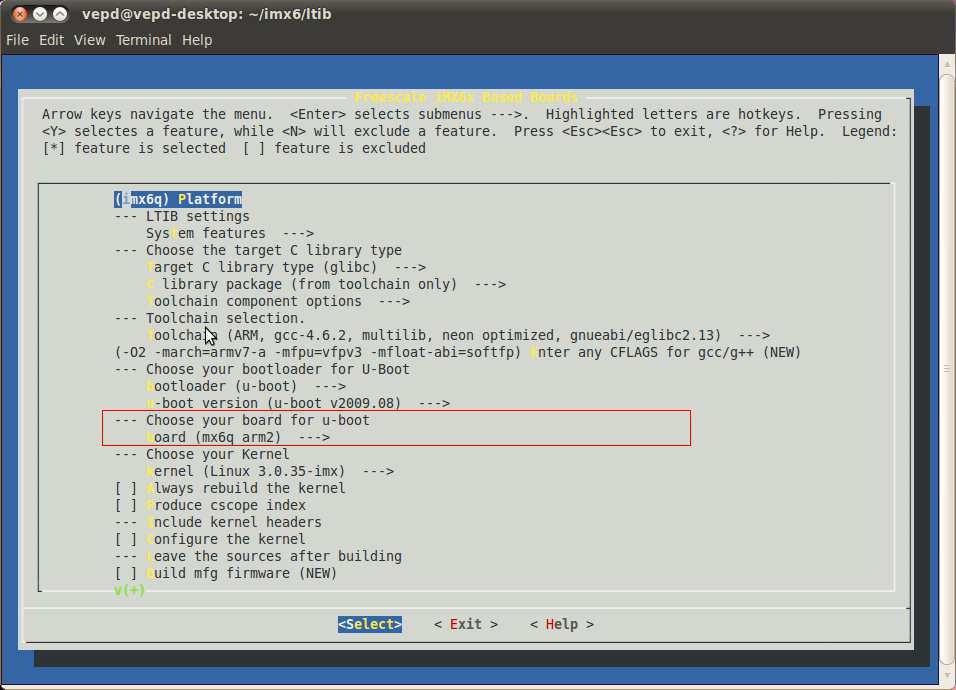
Figure 6: iMX6q Based Boards
Then choose the mx6q_sabrelite as shown in Figure 7.
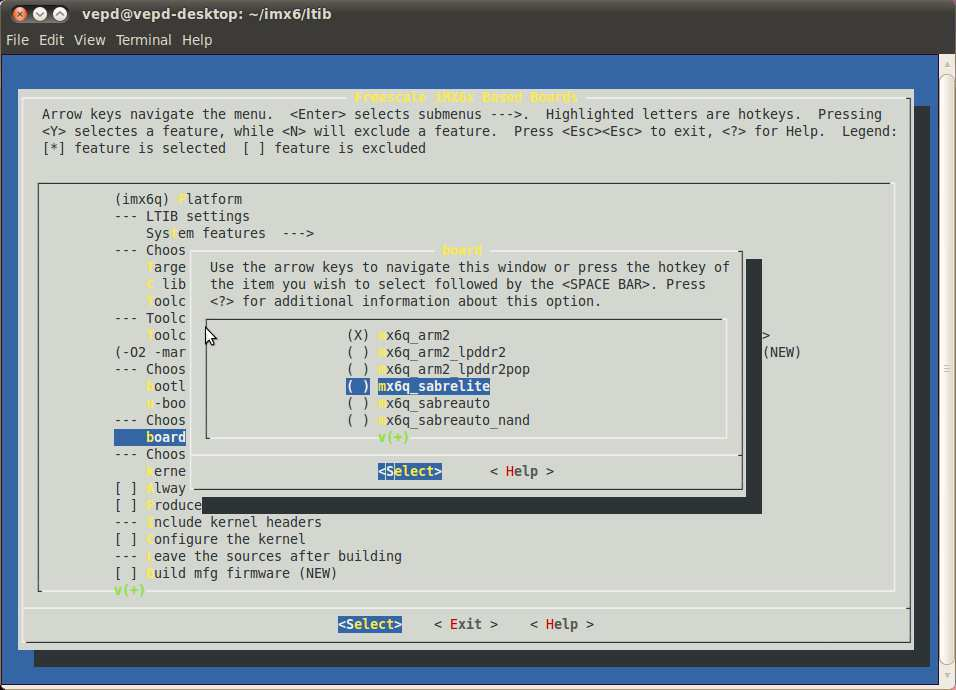
Figure 7: iMX6q_sabrelite
Move the cursor over <Exit> and press enter key. In Figure 8, it shows that <Yes> has been selected. Press enter key to save the configuration.
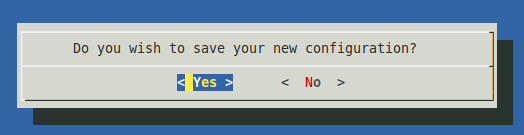
Figure 8: Save the configuration
The sudoer’s password is asked for the current user. Enter the password to begin the building process. The building process will take 1.5 hours to complete.
3.2. Building the VAB-820 Solution Pack
Once the iMX6 basic packages have been obtained in your building platform as described in section 3.1, this section will guide you through adding or replacing the modification source files as well as building Solution Pack in order to make u-boot, kernel workable on VAB-820.
3.2.1. Add VAB-820 patches to LTIB
Since there are several H/W definitions that are different from original iMX6 source files. User has to add VAB-820 patches in the path below, in order to enable the VAB-820 I/O functions. The LTIB path for this example is /home/user/imx6/ltib, and the kernel source folder is rpm/BUILD/linux/ under the LTIB path. You can find two patch files vab820-uboot.patch and vab820-kernel.patch at BSP/PatchFiles/ folders.
Step 1
Open Terminal utility.
Step 2
Copy BSP/PatchFiles/vab820-kernel.patch to ltib/rpm/BUILD/linux/:
user@ubuntu:~/$ cd BSP/PatchFiles/
user@ubuntu:~/BSP/PatchFiles$ cp vab820-kernel.patch ~/imx6/ltib/rpm/BUILD/linux/
Step 3
Apply the vab820-kernel.patch to kernel source code.
user@ubuntu:~/$ cd /home/user/imx6/ltib/rpm/BUILD/linux/ user@ubuntu:~/imx6/ltib/rpm/BUILD/linux$ patch -p1 < vab820-kernel.patch
Step 4
Since LTIB will automatically remove all source files from ltib/rpm/BUILD/ when it finishes building, except the linux/ folder. You need to extract uboot package manually if you want to modify u-boot files. Run the following command to extract u-boot:
user@ubuntu:~/$ cd /home/user/imx6/ltib/
user@ubuntu:~/imx6/ltib$ ./ltib -m prep -p u-boot
user@ubuntu:~/imx6/ltib$ ls rpm/BUILD/
linux linux-3.0.35 u-boot-2009.08
Then you will find u-boot-2009.08/ folder under ltib/rpm/BUILD/.
Step 5
Copy BSP/PatchFiles/vab820-uboot.patch to ltib/rpm/BUILD/u-boot-2009.08/:
user@ubuntu:~/$ cd BSP/PatchFiles/
user@ubuntu:~/BSP/PatchFiles$ cp vab820-uboot.patch ~/imx6/ltib/rpm/BUILD/u-boot-2009.08/
Step 6
Apply the vab820-uboot.patch to u-boot source code:
user@ubuntu:~/$ cd /home/user/imx6/ltib/rpm/BUILD/u-boot-2009.08/
user@ubuntu:~/imx6/ltib/rpm/BUILD/u-boot-2009.08 $ patch -p1 < vab820-uboot.patch
3.2.2. Run LTIB to build
The following steps will guide you through building image after adding/replacing the VAB-820 modification files.
Step 1
Run LTIB:
user@ubuntu:~/$ cd /home/user/imx6/ltib/
user@ubuntu:~/imx6/ltib$ ./ltib -c
Step 2
LTIB menu will be shown on the screen.
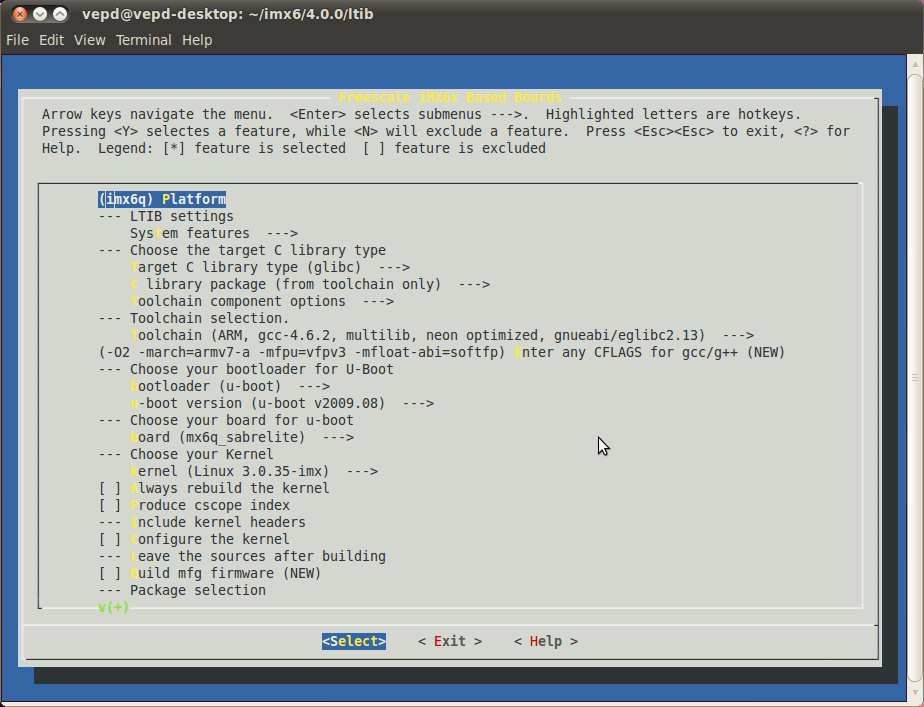
Figure 9: iMX6 Based Boards
Step 3
Select Configure the kernel.
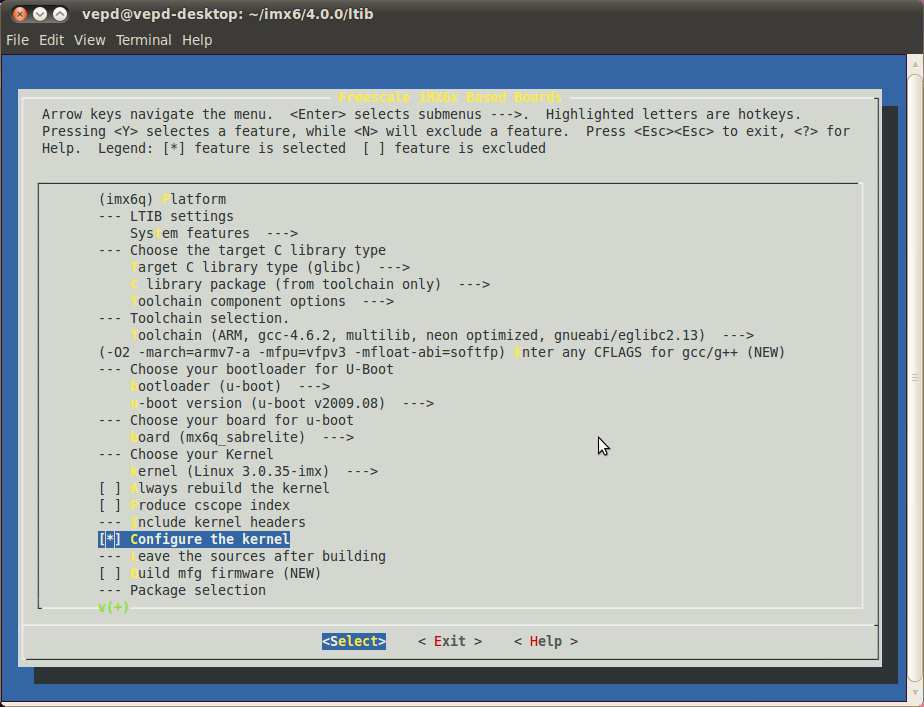
Figure 10: Configure the kernel
Step 4 Move the cursor over <Exit> and press enter key.
Step 5
Select <Yes> to save the configuration.
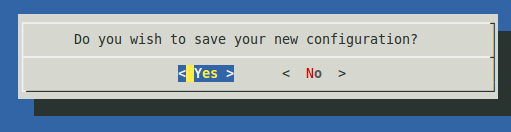
Figure 11: Save the configuration
Step 6
Then the kernel configuration menu will be shown on the screen. Figure 14. Kernel configuration menu
Step 7
It is recommended to select at least the following options:
File systems -> [*] FUSE (Filesystem in Userspace) support
File systems -> DOS/FAT/NT Filesystems -> <*> NTFS file system support
                                          <*> NTFS write support

System type --> Freescale MXC implementations --> [*]PCI Express support

/* support VNT9485 MiniPCIe module */
Networking support -> Wireless -> <*> Generic IEEE 802.11 Networking Stack
Device Drivers -> Network device support -> Wireless LAN -> Atheros Wireless Cards -> <M> Atheros 802.11n wireless cards support
                                                                                      [*] Atheros ath9k PCI/PCIe bus support

/* support 3G module */
Bus support -> <*> PCCard (PCMCIA/CardBus) support
Device Drivers -> USB support -> <*> USB Serial Converter support -> [*] USB Generic Serial Driver
                                                                     <*> USB driver for GSM and CDMA modems
Device Drivers -> Network device support -> <*> PPP (point-topoint protocol) support -> [*] PPP multilink support
                                                                                        <*> PPP support for async serial ports
                                                                                        <*> PPP support for sync tty ports
                                                                                        <*> PPP Deflate compression
                                                                                        <*> PPP BSD-Compress compression
These options in the kernel configuration are:
- CONFIG_FUSE_FS (FUSE (Filesystem in Userspace) support)
- CONFIG_NTFS_FS (NTFS file system support)
- CONFIG_NTFS_RW (NTFS write support)
- ? (PCI Express support)
- CONFIG_MAC80211 (Generic IEEE 802.11 Networking Stack)
- CONFIG_ATH9K (Atheros 802.11n wireless cards support)
- CONFIG_ATH9K_PCI (Atheros ath9k PCI/PCIe bus support)
- CONFIG_PCCARD (PCCard (PCMCIA/CardBus) support)
- CONFIG_USB_SERIAL (USB Serial Converter support)
- CONFIG_USB_SERIAL_GENERIC (USB Generic Serial Driver)
- CONFIG_USB_SERIAL_OPTION (USB driver for GSM and CDMA modems)
- CONFIG_PPP (PPP (point-topoint protocol) support)
- CONFIG_PPP_MULTILINK (PPP multilink support)
- CONFIG_PPP_ASYNC (PPP support for async serial ports)
- CONFIG_PPP_SYNC_TTY (PPP support for sync tty ports)
- CONFIG_PPP_DEFLATE (PPP Deflate compression)
- CONFIG_PPP_BSDCOMP (PPP BSD-Compress compression)
Step 8
It is recommended to remove the following options:
Device Drivers --> Input device support --> [*] Keyboards --> [ ] GPIO Buttons
CPU Power Management --> CPU Frequency scaling --> [ ] CPU Frequency scaling
- ? (GPIO Buttons)
- CONFIG_CPU_FREQ (CPU Frequency scaling)
Step 9
Move the cursor over <Exit> and press enter key.
Step 10 Select <Yes> to save new kernel configuration
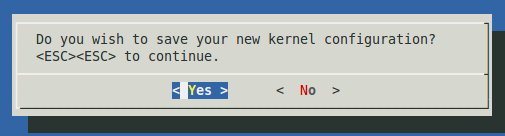
Figure 12: Save the configuration
The sudoer’s password is asked for the current user. Enter the password to begin the building process. The building process will take 1.5 hours to complete.
If the building process is successful, you can see the message on the screen.
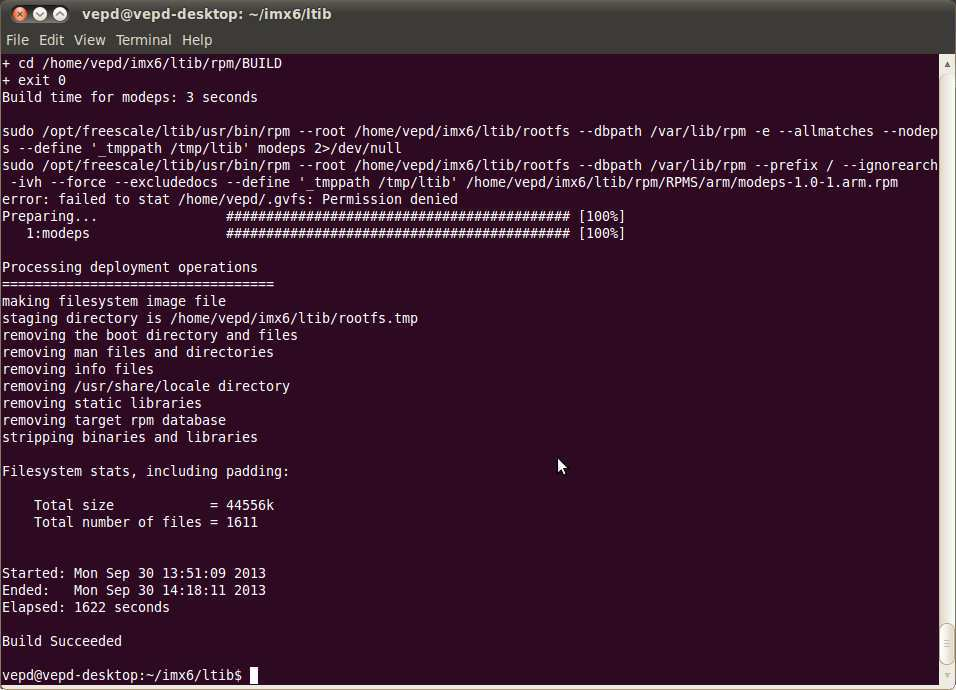
Figure 13: Build successful
There is u-boot.bin, uImage and root file system generated by LTIB. The location for this example can be found in the directory “/home/user/imx6/ltib/rootfs/” as shown in the following table:
| Binary | Path | Description |
|---|---|---|
| u-boot.bin | ~/imx6/ltib/rootfs/boot | U-Boot boot loader |
| uImage | ~/imx6/ltib/rootfs/boot | Kernel |
| rootfs | ~/imx6/ltib/rootfs | Root file system: A folder which includes drivers, library, instruction, and configure files. All you have done in LTIB will be put here. |