3. Functionality
This chapter will describe the features supported by VAB-600 Android evaluation image and how to evaluate these features.
3.1. Multimedia features
To evaluate the multimedia features, you can install the following APK from \EVK\tools\apks\.
- Gallery2.apk: for video and photo playback
- Music.apk: for audio playback
3.2. Network features
Configure the Settings->Ethernet in Android system to enable the VAB-600 on-board Ethernet function.
3.3. Miscellaneous features
3.3.1. Hiding system bar
When the application requires display of full screen, the system bar on the bottom area will be automatically hidden. For how to write an Android application that can display full screen, please refer to Android official website or the following website: http://blog.csdn.net/cjjky/article/details/6337172
3.3.2. ADB
VAB-600 Android BSP supports launching adb daemon when starting Android OS. Once the Android OS has completed booting and network is correctly configured, you can use adb to connect VAB-600, as mentioned in section 4.4.
3.3.3. USB device and SD card
SD card and USB devices including input devices (mouse and keyboard); as well as storage devices (flash or hard disk), are both supported.
Note
The BSP cannot identify more than one USB flash/hard disk.
3.4. SmartETK Features
SmartETK provides a set of APIs for the Android application to access the services provided by VAB-600 hardware. The SmartETK for VAB-600 supports the following features:
- Watch Dog
- RTC Power On
- Programmable GPIO
- Serial Ports
WatchDog: a timer helps the application/system to recover from dead circle or breakdown. When it is set, it will reboot the system if no “Feeding dog” signal is received.
RTC Power On: provides auto Power On feature by setting RTC auto wake up timer.
Programmable GPIO: provides high level interface for the applications to control the low level GPIO.
Serial Ports: provides serial port communication capability for Android applications.
All the features can be examined through the demo application SmartETK_sample.apk. The home UI of “SmartETK_sample.apk” is shown as Figure 1.
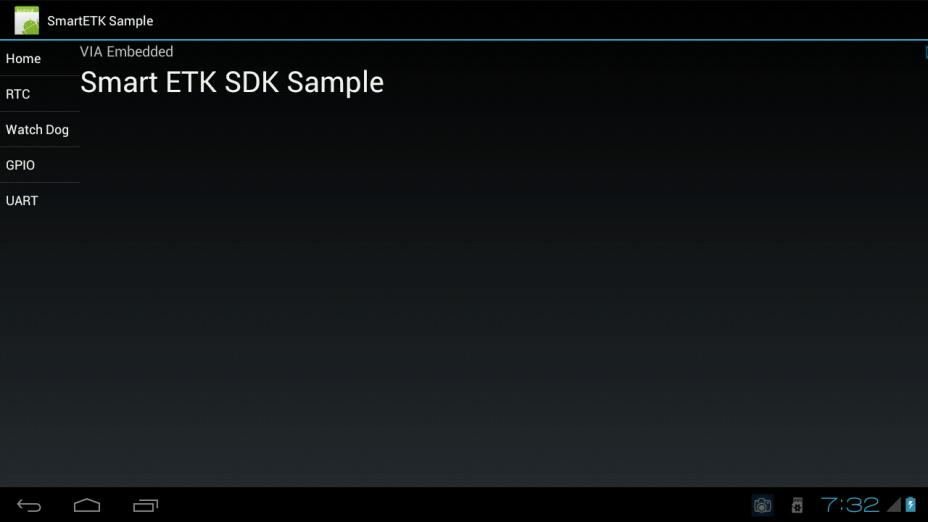
Figure 1: Smart ETK sample app screenshot
3.4.1. RTC Power On
Click “RTC” to enter its UI as shown in Figure 2. Follow the steps to test RTC function.
- Start “SmartETK sample”
- Enter the RTC page
- Set date, hour and minute
- Click “Set and Enable’ button
- Turn off the system
- Wait for RTC auto boot
Note
- If wake-up time arrives at the same time when system is running, the system will automatically reboot. Please make sure the wakeup is disabled when the system is running.
- Please reset the wakeup time after you adjust the system time, date or timezone through Setting-> Date&Time. Otherwise, the system may be automatically waked up on an unexpected time.
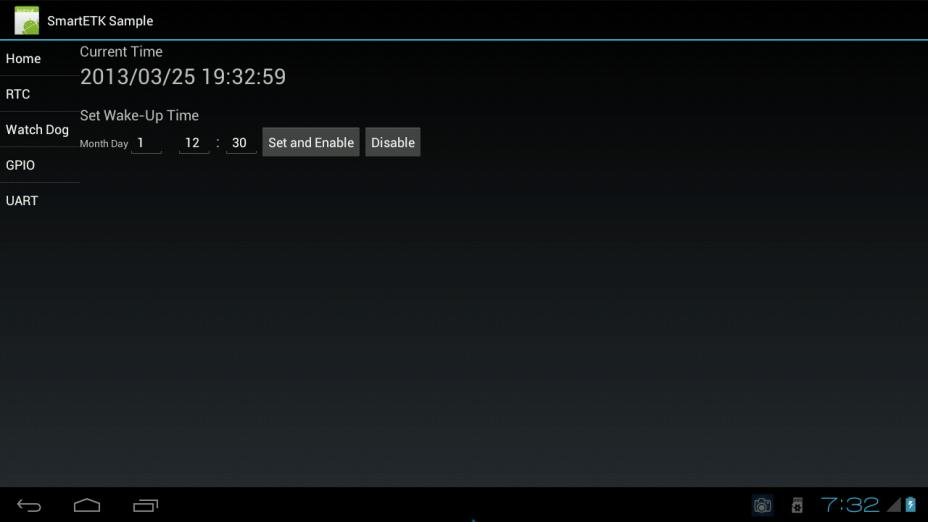
Figure 2: Smart ETK RTC Power On example screenshot
3.4.2. WatchDog
Click “WatchDog” to enter its UI as shown in Figure 3. Follow the steps to test WatchDog function.
- Start “SmartETK sample”
- Enter the Watch Dog page
- Set seconds (need to refresh in # seconds, otherwise the system will reboot)
- Click “Start” button
- Click “Refresh” to reset timer
- Wait for the system reboot
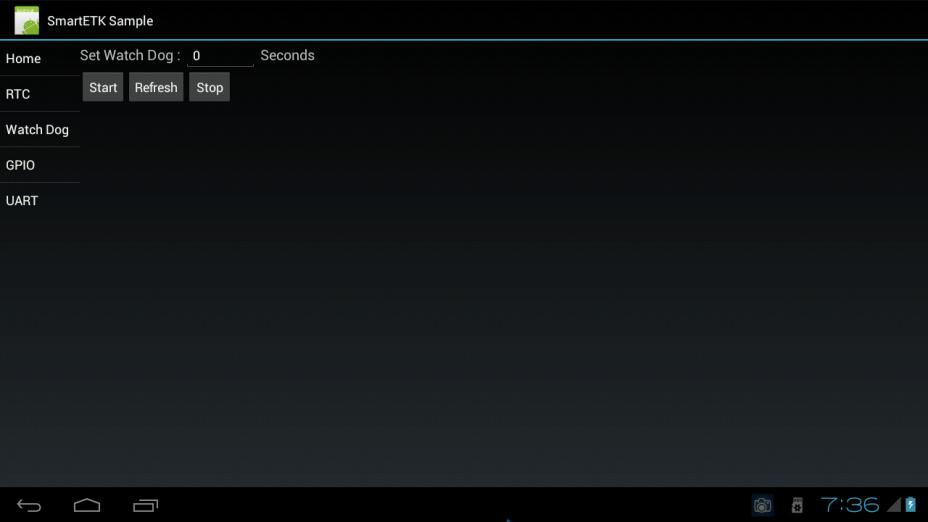
Figure 3: Smart ETK WatchDog example screenshot
3.4.3. GPIO
Click “GPIO” to enter its UI as shown in Figure 4. Follow the steps to test GPIO function.
VAB-600 provides eight GPIO pins. Test GPIO function by using SmartETK_sample.apk.
There are two modes in the SamrtETK sample application.
- Mode 1: pin 0 to pin 3 are GPO, pin 4 to pin 7 are GPI
- Mode 2: pin 0 to pin 3 are GPI, pin 4 to pin 7 are GPO
- Pull-Up: default GPI state is pull-up
- Pull-Down: default GPI state is pull-down
- Start “SmartETK sample”
- Enter the GPIO page
- Click “Enable” button
- Switch between mode 1 and mode 2
- Change GPO switch to ensure GPI status is correct
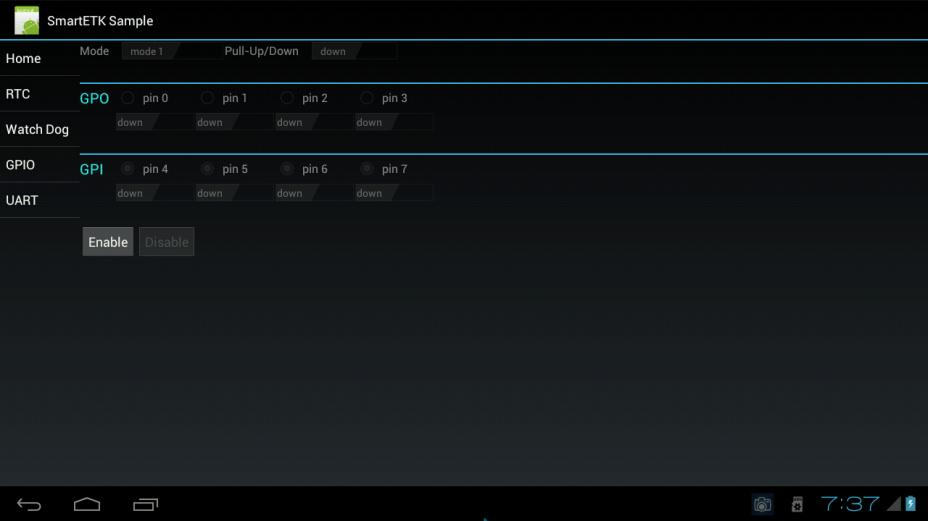
Figure 4: Smart ETK GPIO example screenshot
3.4.4. Serial Ports
Click “Serial Ports” to enter its UI as shown in Figure 5. Follow the steps to test serial port function. VAB-600 supports UART 2 and external EXAR 4-channel USB to serial device.
Use SmartETK_sample.apk to test the UART function.
- Connect com port between VAB-600 and PC
- Open terminal on PC site and set baud rate as 115200
- Start “SmartETK sample”
- Enter the UART page
- Set dev note (ttyS2, ttyUSB0 ~ 3)
- Click “Connect” button
- Click “Disconnect” button
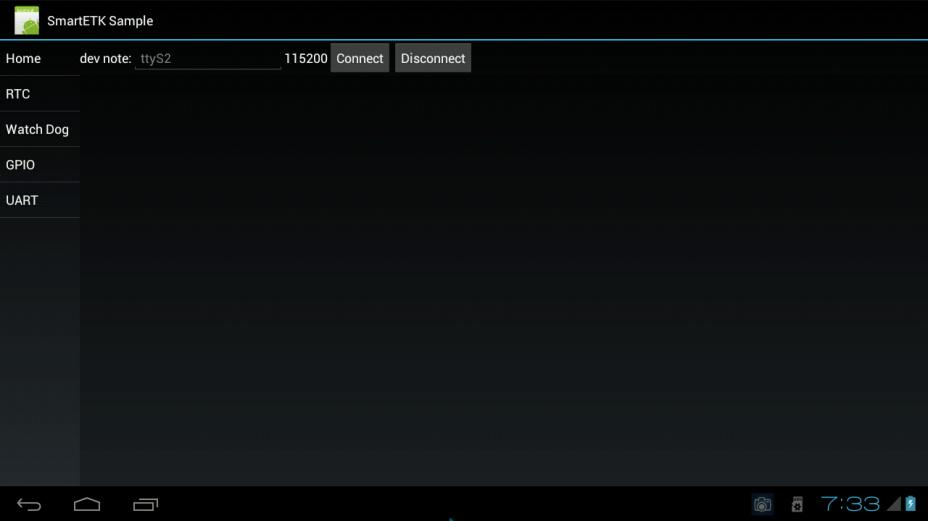
Figure 5: Smart ETK Serial Ports example screenshot